Unlocking Audio Compression: A Guide to Mixing and Mastering Techniques
One of my Berklee professors defined compression as “making things smaller,” which is a funny and accurate way of summing up a very complex subject. When you compress something you are shrinking the dynamic range: reducing the difference between the loudest and quietest parts of a track. In doing so, compressors can make sounds more consistent, enhance clarity, and ensure elements sit well together in a mix or master. Mix engineers like Nigel Godrich do this in genius ways, making separate instruments smaller, reshaping them and moving them into their own spaces by using artful compression, EQ, and panning.
What are compressors?
I know people that graduated from prestigious audio programs without learning how to properly use a compressor so in practice this topic goes pretty deep. Here I will just define what a compressor is rather than how to use it. As always, the best way to learn beyond the basics is through practice, and there are plenty of great free compression plugins out there to get started with. One I highly recommend is TDR Kotelnikov.
The basic set of adjustable parameters on most compressors include threshold, ratio, attack, and release. Changing these parameters allows engineers to control how much and how quickly the signal is compressed, which can enhance clarity, add punch, or create specific sonic effects.
Threshold: Defines the level (in dB) at which the compressor starts working. Signals above this level are compressed, while those below remain unaffected. For example, setting the threshold to -10 dB means only peaks exceeding that level will be reduced.
Ratio: Determines how much the signal is compressed once it exceeds the threshold. A 2:1 ratio means for every 2 dB above the threshold, only 1 dB is output. Higher ratios (e.g., 10:1) result in more aggressive compression and are often reserved for limiting.
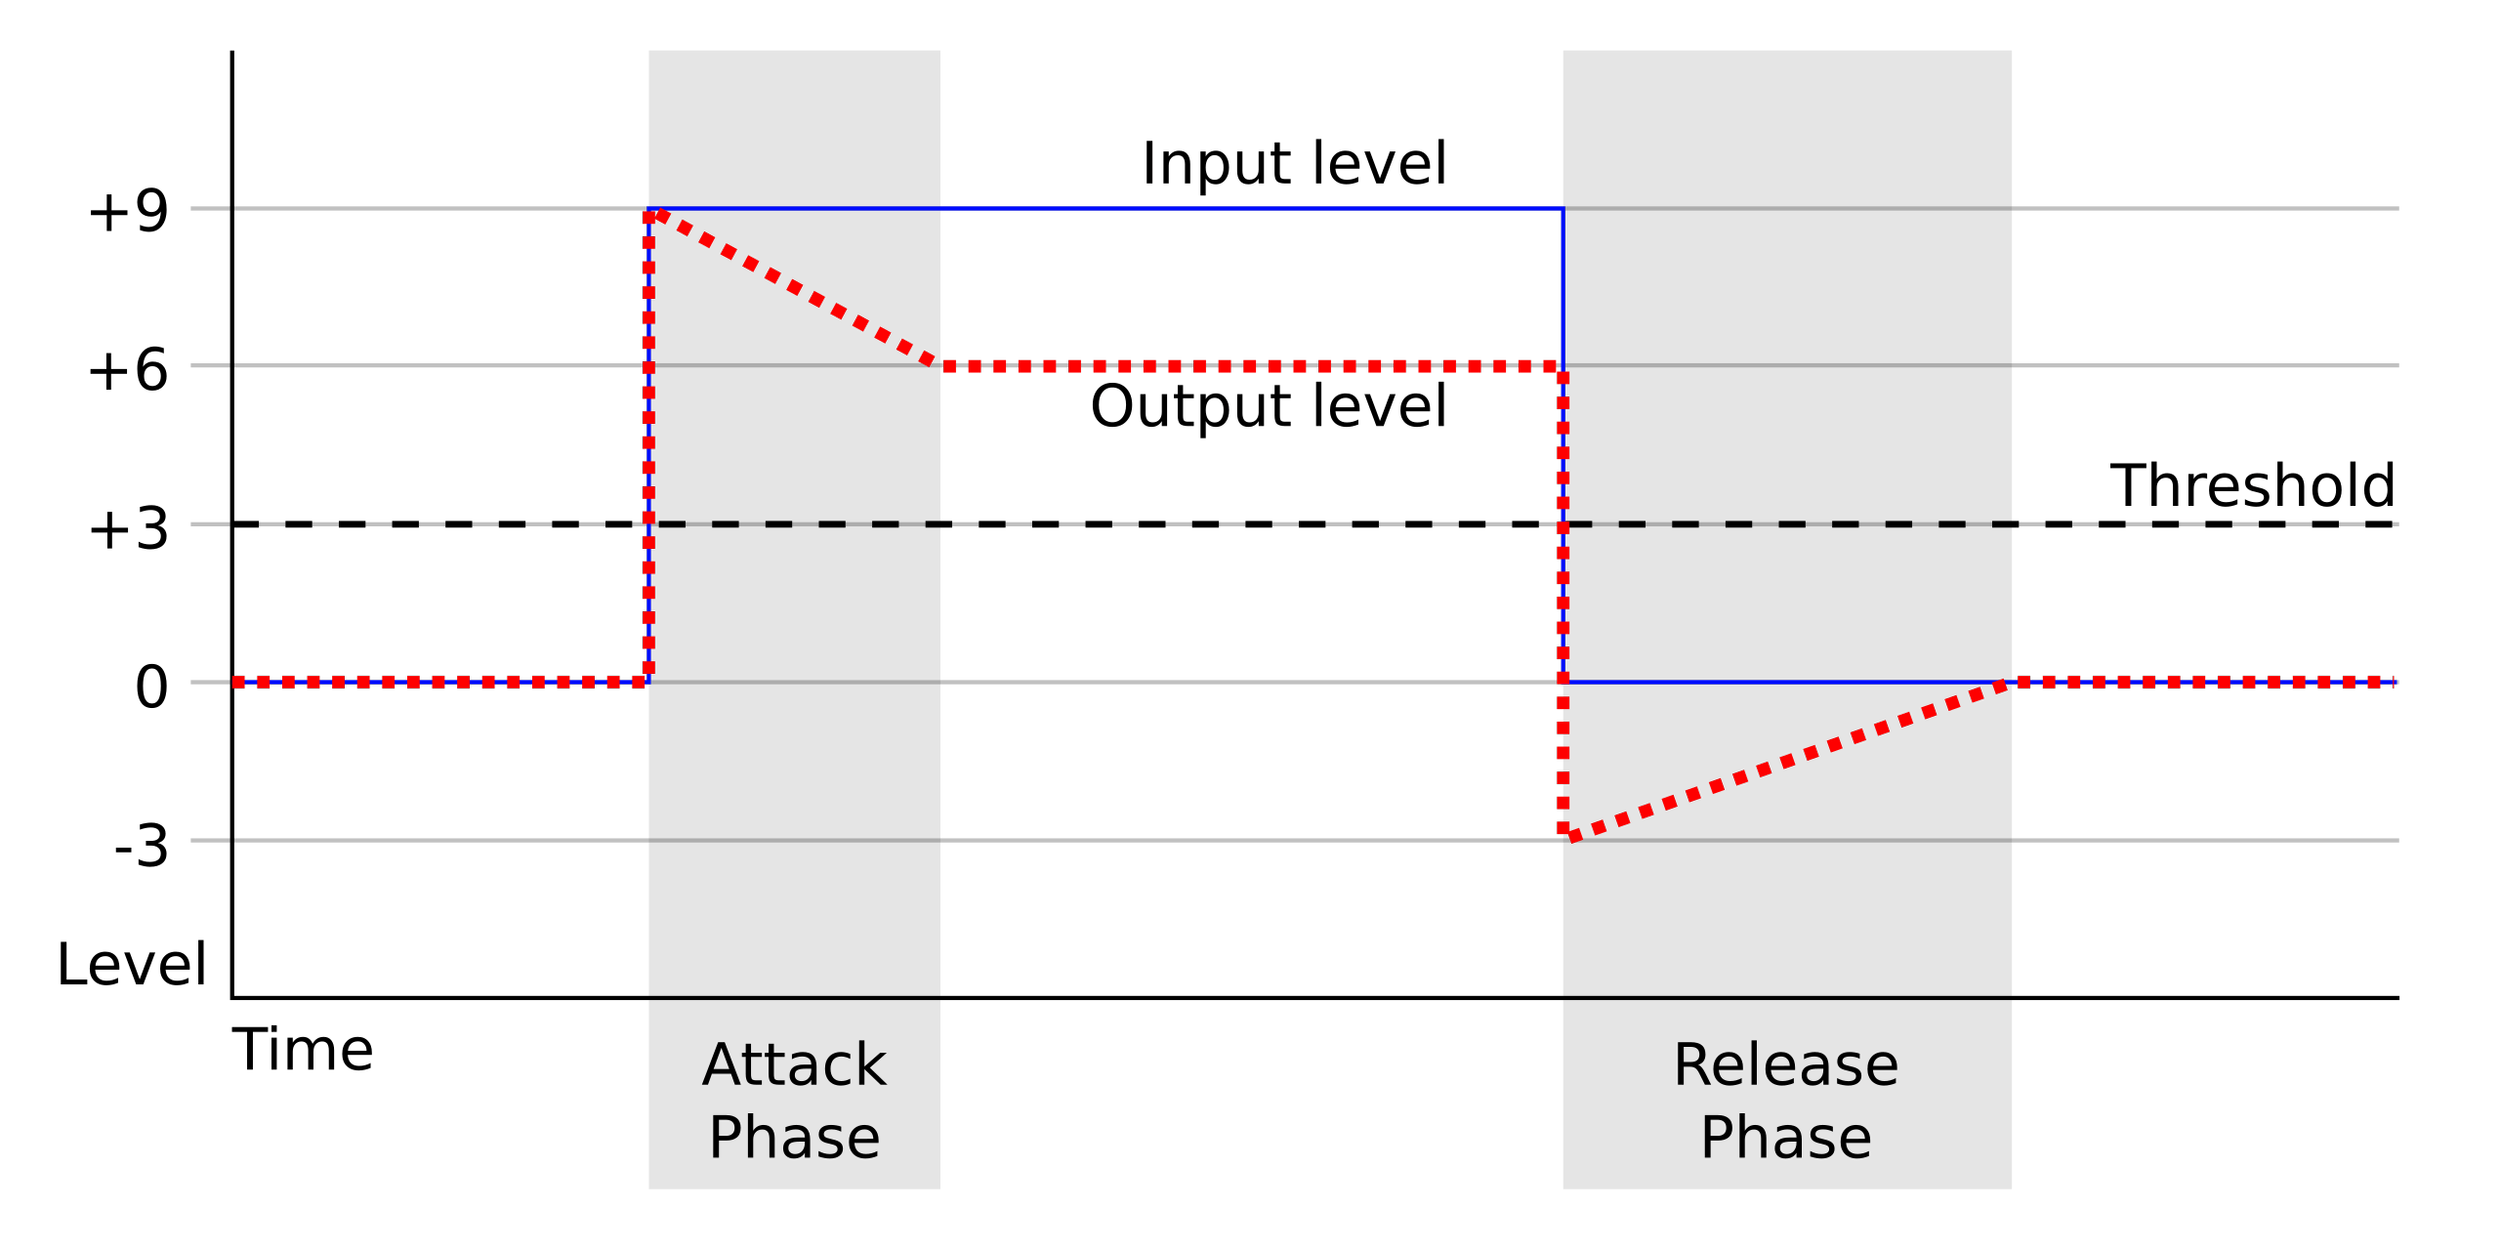
Attack: Controls how quickly the compressor reacts to signals exceeding the threshold. Faster attack times (e.g., milliseconds) tame sharp transients like kicks and snares, while slower attacks preserve natural dynamics.
Release: Sets how long it takes for the compressor to stop compressing after the signal falls below the threshold. Faster release times can add energy, while slower releases smooth out changes.
Knee: Adjusts how smoothly compression is applied as the signal approaches the threshold. A “soft knee” provides a gradual transition for natural sound, while a “hard knee” applies compression abruptly for a more aggressive effect.
Make-Up Gain: Boosts the overall output level after compression to compensate for volume loss. This ensures the compressed signal maintains its loudness in the mix and is an important step for proper gain staging.
Famous Examples of Compressors: Iconic Sounds

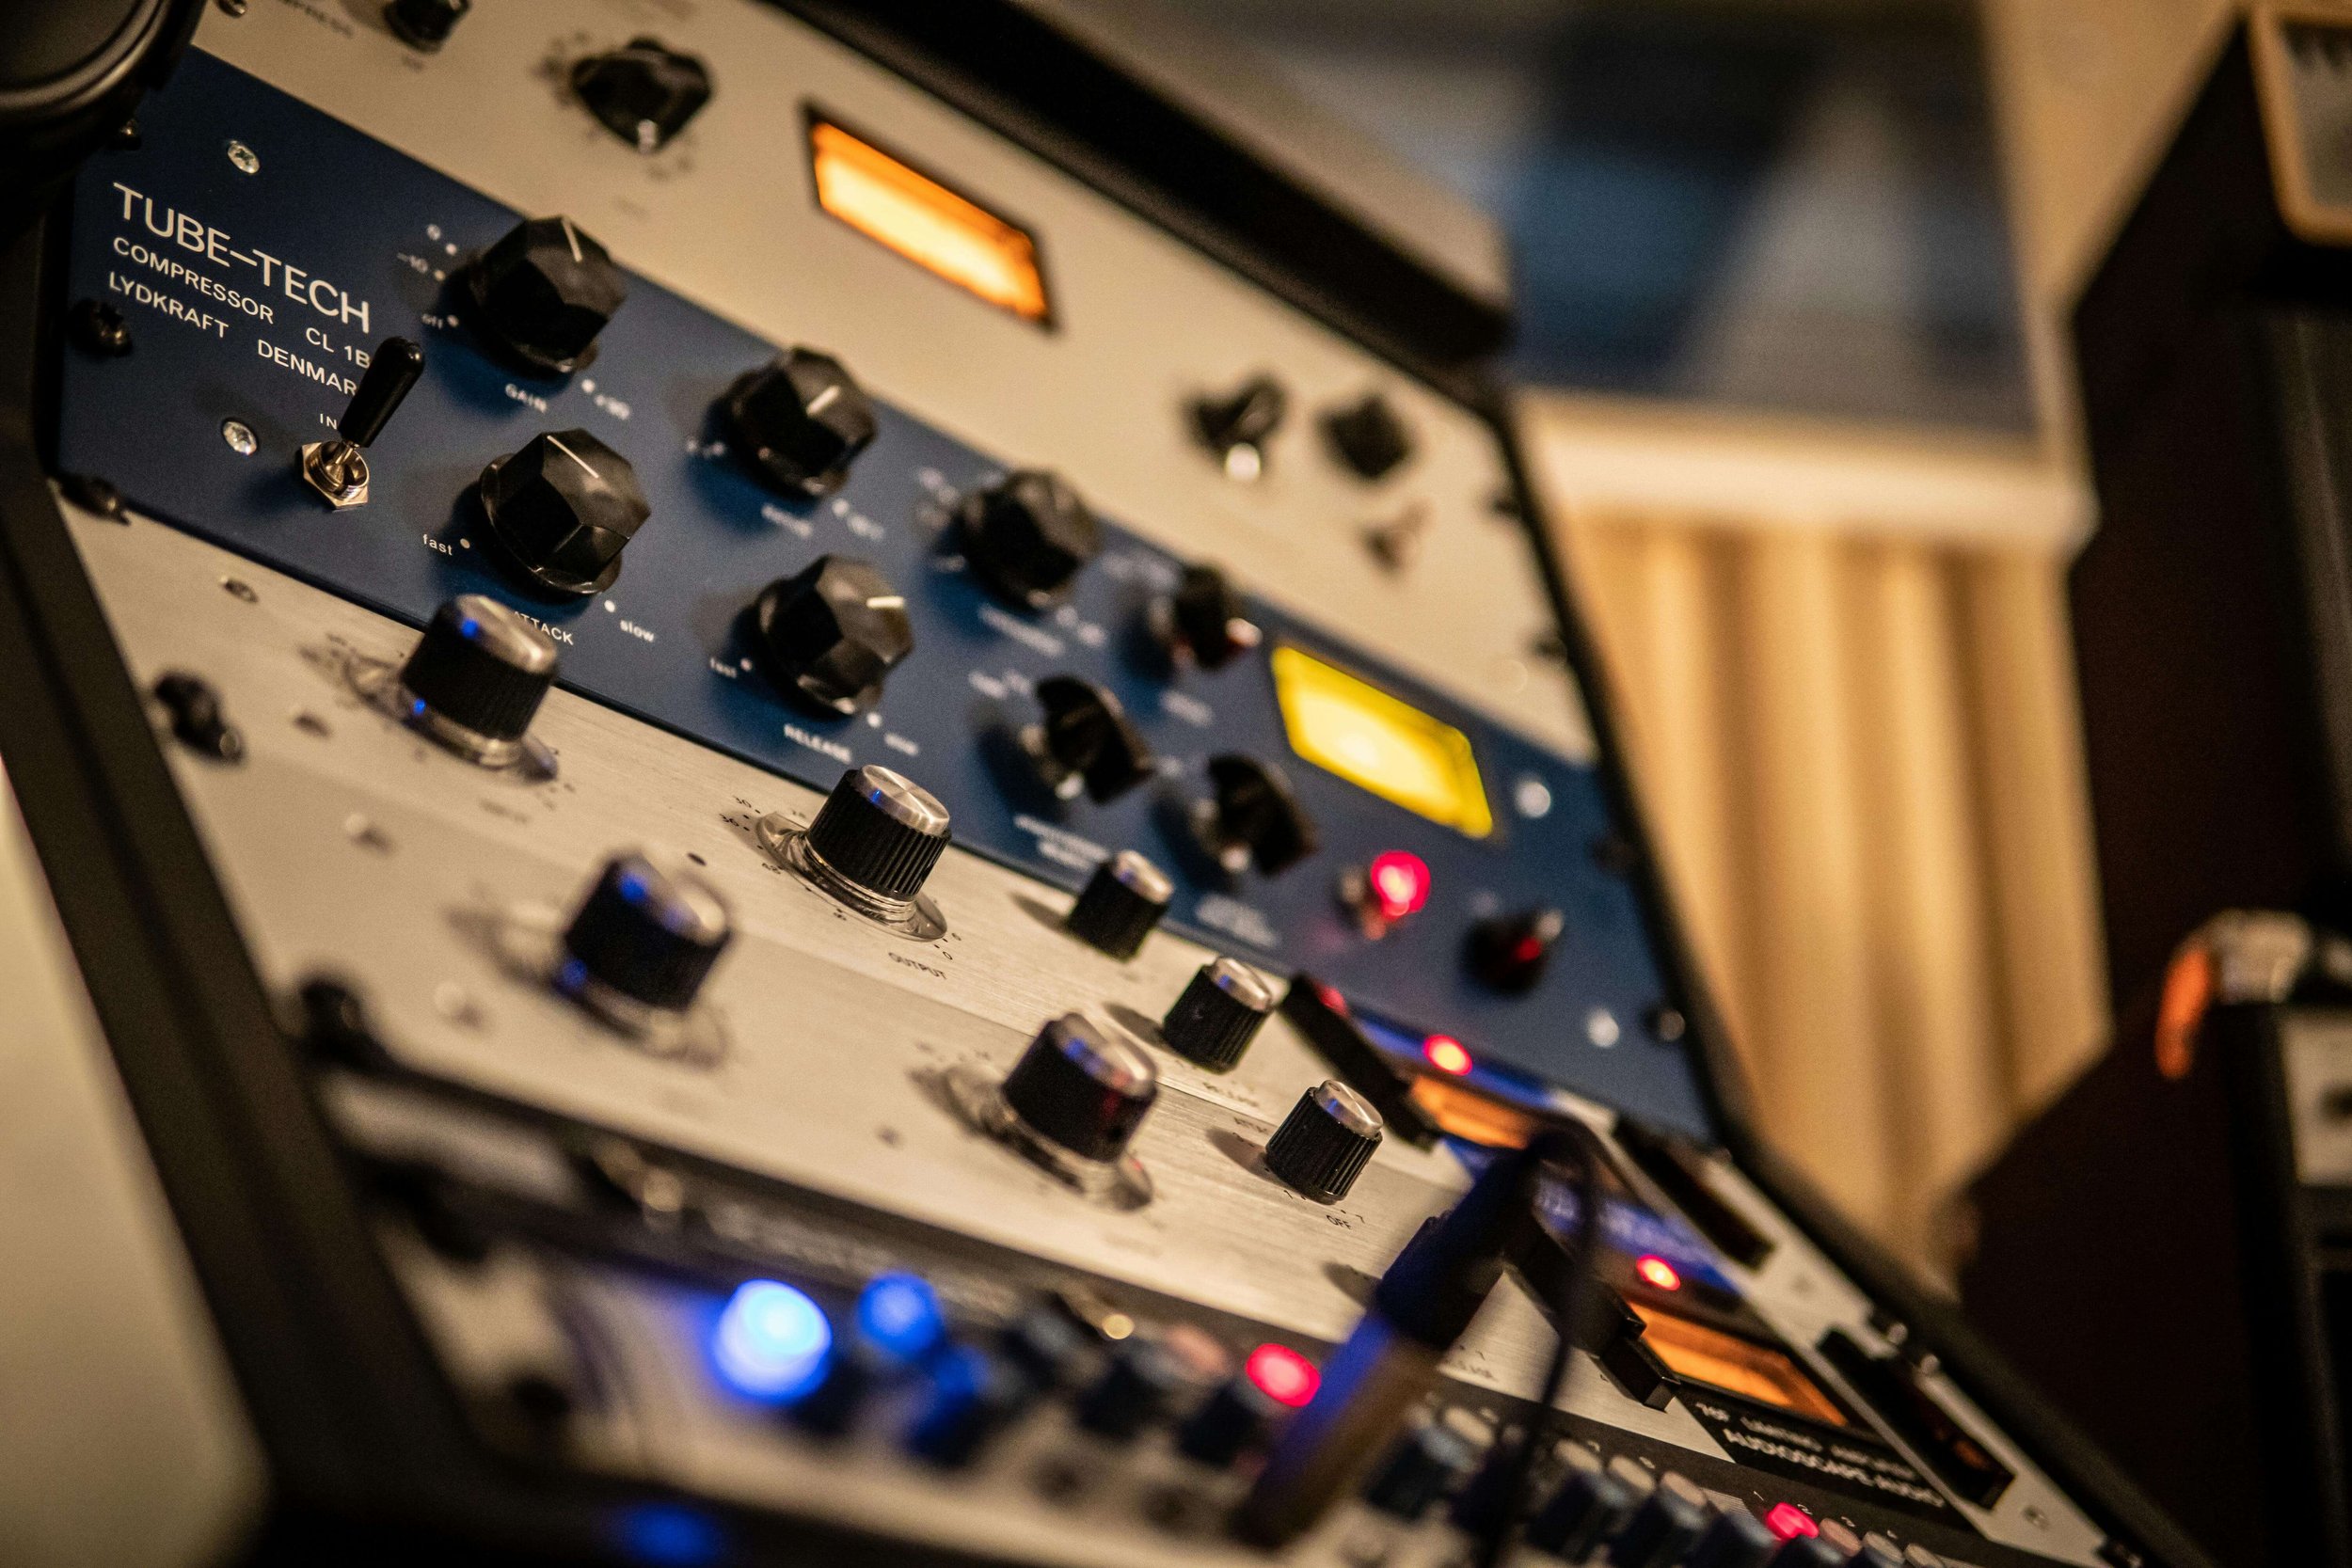
Some of the most famous compressors have shaped landmark songs and defined entire genres. For instance, the Universal Audio 1176LN is celebrated for its quick attack and transparent sound. It’s famously used on Michael Jackson’s Thriller, where it helped achieve tight drum sounds and punchy vocals. The Teletronix LA-2A, with its smooth optical compression, is a favorite for vocals and bass. It was notably overloaded for distortion on Jack White’s vocals in The White Stripes’ Seven Nation Army.
Another classic, the Fairchild 670, known for its warm tube sound, added presence to Beatles’ vocals on tracks like A Day in the Life. Lastly, the Alesis 3630, despite its flaws, defined the pumping sidechain compression sound in French house music, famously featured in Daft Punk’s Homework and Stardust’s Music Sounds Better With You. These compressors not only control dynamics but also add character that becomes integral to the music.
Compression in Mixing: Shaping Individual Tracks
When compressing individual tracks during mixing, the goal is often to shape and control specific elements of the song. For example:
Vocals: Compression ensures words don’t get lost in the mix by evening out volume inconsistencies.
Drums: Compressors can add punch to kicks and snares by allowing transients (the initial attack) to shine while controlling sustain.
Bass: Helps maintain a consistent low-end presence without overwhelming other elements.
Compression on Groups or Busses
Before reaching the master stage, many engineers apply compression to groups of tracks (e.g., drum busses or vocal stacks). This technique:
Glues similar elements together for cohesion.
Reduces the need for heavy compression on individual tracks.
Allows for parallel compression, where a heavily compressed signal is blended with an uncompressed one for added depth and punch.
Mastering Compression: Subtlety is Key
In mastering, when compression is used it serves a different purpose (read my post on Mixing vs Mastering here.) The focus shifts from individual elements to the overall stereo mix. Here’s how things change when it comes to mastering:

Low Ratios (1.5:1 or 2:1): Mastering compression is subtle, designed to lightly glue the mix together without altering its character. The ratios chosen are often very low and specific.
High Thresholds: Generally only the loudest peaks are affected, ensuring transparency.
Upward Expansion (e.g., 1:2): Sometimes used to exaggerate dynamics if a mix feels flat, making quiet parts quieter and loud parts louder.
Unlike mixing, where compression shapes individual sounds, mastering compression ensures the final track feels cohesive and punchy without sacrificing dynamics. In mastering you never want to make the mix sound smaller.
Common Compression Techniques
1. Parallel Compression:
Used in both mixing and mastering.
Combines a heavily compressed signal with a dry signal for added punch without losing dynamics.
2. Multiband Compression:
Splits audio into frequency bands (e.g., lows, mids, highs) and applies compression independently to each band.
Useful in mastering to control specific problem areas without affecting the entire mix.
3. Sidechain Compression:
Common in mixing when one track needs to “duck” under another (e.g., bass ducking under kick drum).
Rarely used in mastering but can be applied creatively.
When Not to Use Compression

The trend of increasing loudness as shown by waveform images of the song Something by The Beatles mastered on CD four times since 1983.
While compression is powerful, overusing it can lead to lifeless and flat mixes or masters. In my view the loudness wars are ultimately a losing battle that has been fought since the golden era of recording. Here are some signs you might be over-compressing or over-limiting your track:
Loss of dynamics or energy in your track.
Pumping artifacts caused by overly aggressive settings.
A “squashed” sound that lacks depth or clarity.
Always let your ears guide you: often less is more. If in doubt, sleep on it and then listen to some reference tracks in the morning before listening to your mix again. And try to go easy on your master bus.
Final Thoughts on Compression
Compression is both an art and a science. In mixing, it’s about shaping individual elements to fit together seamlessly. In mastering, it’s about subtle adjustments that enhance cohesion and energy without compromising dynamics. Whether you’re using high ratios for control or low ratios for glue, always approach compression with intention and care.