Mastering on a Budget: Essential Tips for DIY Producers

Mastering is often seen as a mysterious process reserved for grey haired professionals with expensive gear. But what if you’re a DIY producer working out of a home studio, armed with nothing more than a laptop, headphones, and a tight budget?
The good news is that while professional mastering engineers bring invaluable expertise to the table, it’s possible to achieve solid results on your own with the right tools, techniques, and mindset. Here’s how to approach mastering on a budget without compromising your music’s quality.
What Is Mastering (Really)?
At its core, mastering is about refinement and quality control. It’s the final step in music production where you polish your mix to ensure it sounds balanced and translates well across all playback systems, whether it’s streaming on Spotify or the radio, blasting through car speakers or playing on earbuds.
For DIY producers and mixers, the goal isn’t to replicate the precision of a high-end mastering studio but to focus on the essentials: tonal balance, dynamics, loudness, and ensuring your track meets distribution standards. With some affordable tools and careful listening, you can achieve a professional-sounding master from your home studio.
Essential Tips for DIY Mastering
1. Start with a Great Mix
The most important step happens before mastering even begins. A great mix is the foundation of a great master. If your mix is muddy, unbalanced, or overly compressed, no amount of mastering will fix it.
DIY Tip: Before moving to mastering,
Check that each instrument has its own space in the frequency spectrum (use EQ to carve out overlapping frequencies).
Ensure your mix has headroom—aim for peaks around -6 dBFS so there’s no clipping.
Listen on multiple systems (headphones, monitors, car speakers) to catch any glaring issues.
Mastering is not about fixing problems, it’s about enhancing what’s already there, so make sure you like your mix!
2. Use Affordable (or Free) Tools
You don’t need expensive hardware or plugins to master your tracks. Many budget-friendly or free tools can deliver brilliant results if used correctly.
Recommended Tools for DIY Mastering:

EQ: TDR Nova (free) or FabFilter Pro-Q 4 (paid but versatile).
Compression: Klanghelm DC1A (free) or iZotope Ozone Elements (affordable all-in-one solution).
Limiting: LoudMax (free) or Waves L2 Ultramaximizer (budget-friendly classic).
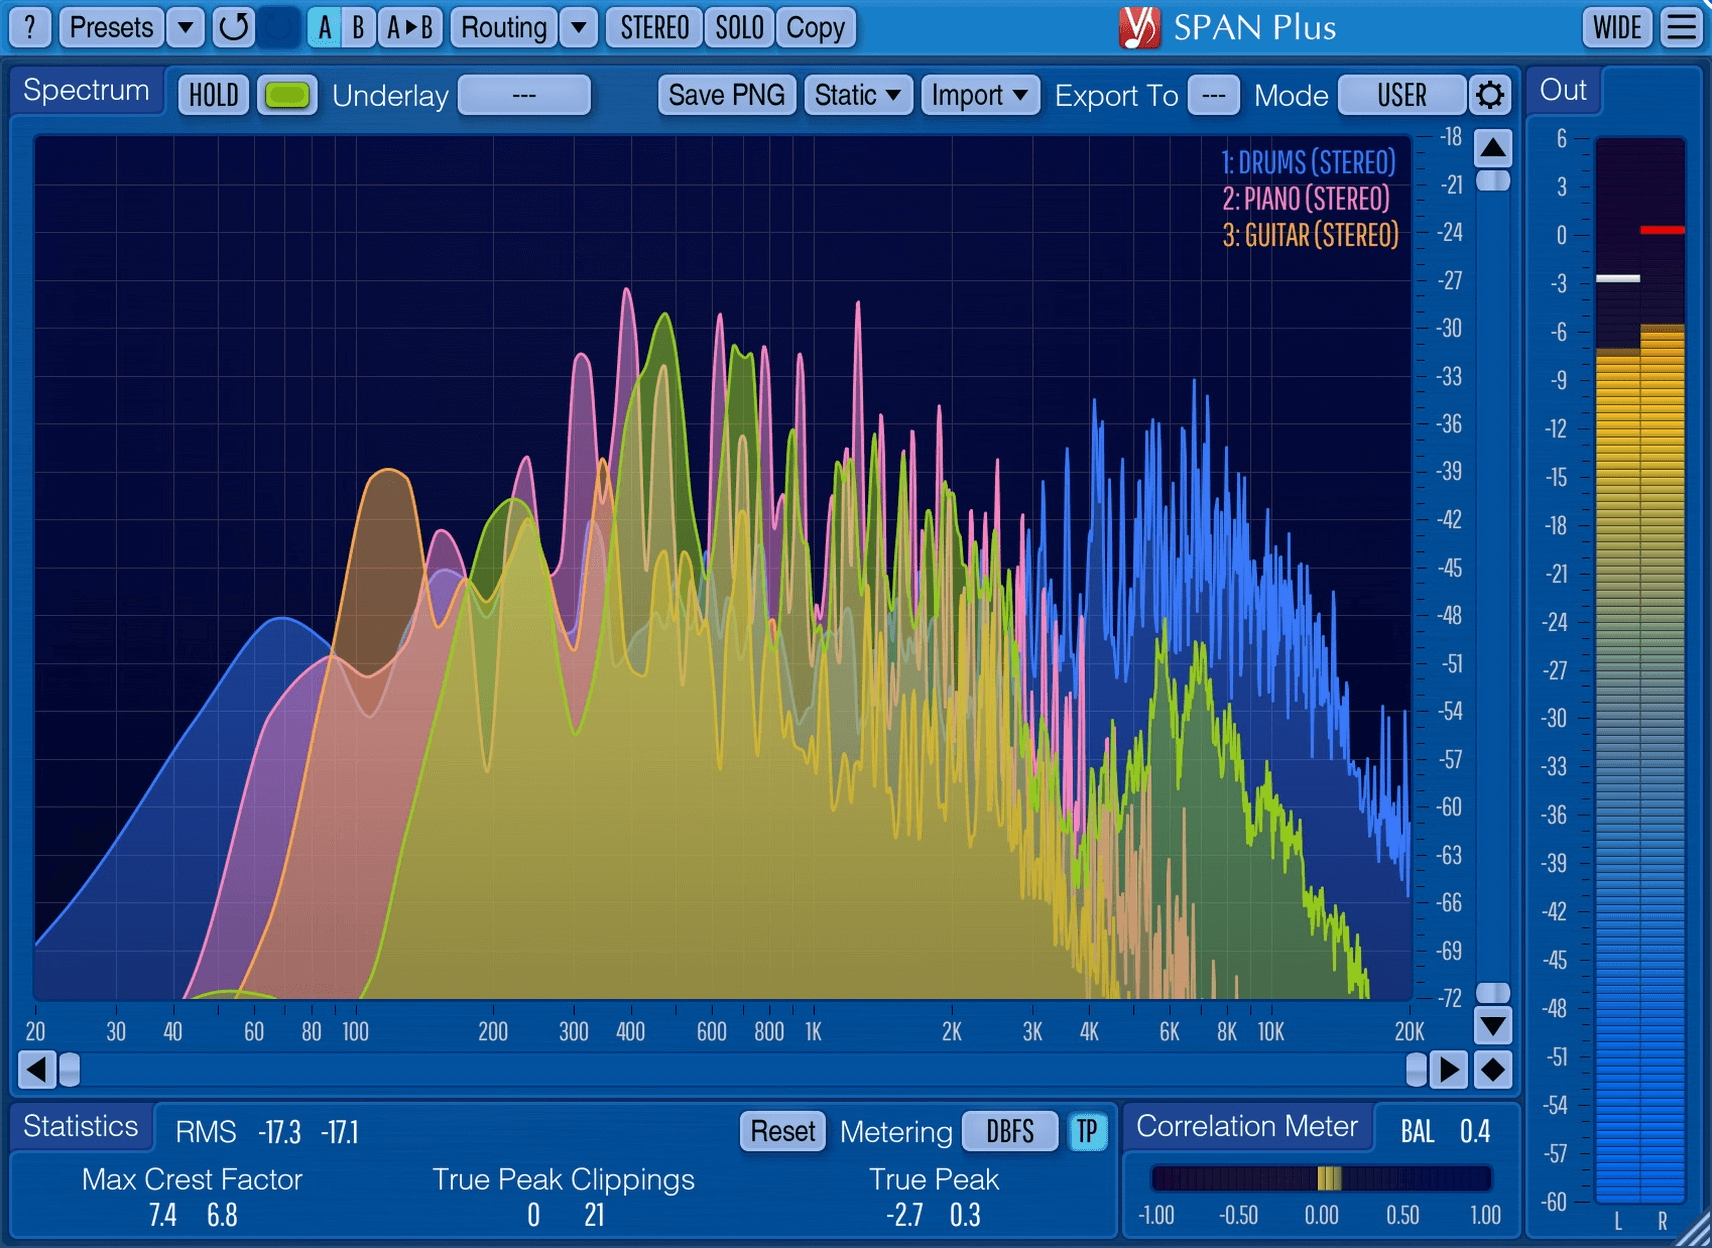
Metering: YouLean Loudness Meter 2 (free) for LUFS monitoring and True Peak analysis. Voxengo SPAN (free) for spectrum analysis.
These tools cover the basics: tonal shaping with EQ, controlling dynamics with compression, achieving competitive loudness with limiting, and ensuring your track meets streaming standards with metering.
3. Create a Neutral Listening Environment
One of the biggest challenges for DIY producers is working in untreated rooms or relying solely on headphones. Room acoustics can color what you hear, leading to poor decisions during mastering.
DIY Tip:

If you don’t have acoustic treatment, use high-quality headphones like Audio-Technica ATH-M50x or Beyerdynamic DT 770 Pro.
Considering pairing your headphones with software like Sonarworks SoundID Reference to flatten their frequency response for more accurate monitoring.
Check your master on multiple playback systems (laptop speakers, car stereos, cheap earbuds) to ensure it translates well everywhere.
4. Focus on Subtlety
Mastering is about making small adjustments that add up to big improvements. Over-processing—adding high-gain EQ boosts or slamming a limiter with a lot of input signal—can do more harm than good when applied to the whole track. It’s a good idea to frequently bypass your mastering processes to check that you are in fact improving upon the mix.
DIY Tip:
Use EQ sparingly. Start by cutting problem frequencies rather than boosting others.
Apply gentle compression with minimal gain reduction (1-2 dB) to glue the mix together without squashing dynamics.
When limiting, aim for no more than 2-3 dB of gain reduction to avoid distortion.
Remember: If you find yourself making drastic changes during mastering, it’s almost definitely an issue with the mix that needs addressing first.
5. Learn Loudness Standards

Streaming normalization is a can of worms and can be very confusing to newcomers. First of all, it’s important to know that streaming platforms like Spotify and Apple Music normalize playback volume based on LUFS (Loudness Units Full Scale). In theory this means that if your master is too quiet or loud compared to their targets, it will be leveled up or down automatically—sometimes at the expense of sound quality. Read more about what LUFS are and how normalization works in LUFS Explained.
DIY Tip:
Aim for an integrated loudness around -14 LUFS and keep peaks below -1 dBFS. This level will conform with the vast majority of loudness standards used by popular sites.
Use a free LUFS meter like YouLean Loudness Meter 2 to monitor levels throughout the process.
Don’t chase extreme loudness; focus on clarity and dynamics instead.
This topic can be discussed and debated, but it is worth noting that contrary to the normalization / loudness standards that have been set, the vast majority of professionally mastered commercial and independent releases are still being mastered at pre-streaming / CD levels, usually anywhere from -10 to -6 LUFS integrated. Chances are your favorite music has been mastered significantly louder than -14 LUFS.
However, for the purposes of this discussion and as far as DIY mastering goes, I think it’s safe to say that masters that sit in the -12 to -14 LUFS integrated range will set you up for success. Louder is not really better, and reaching louder levels without introducing distortion and other artifacts is a delicate balancing act that takes time to learn.
6. Use Reference Tracks
A great way to train your ears and guide your decisions is by comparing your track to professionally mastered songs in the same genre.
DIY Tip:
Import a reference track into your DAW and level-match it with your mix so loudness doesn’t bias your perception.
Pay attention to tonal balance (low end vs midrange vs high end), stereo width, and overall loudness.
Don’t try to copy the reference exactly; use it as a benchmark rather than a blueprint.
7. Take Breaks and Trust Your Ears
One of the biggest pitfalls in DIY mastering is ear fatigue. After hours of listening to the same track, it’s easy to lose perspective and make poor decisions. Having mixed many records myself, I know that by the end of the mix process I was never in a position to approach those mixes with any objectivity. Keep mixing and mastering firmly separate.
DIY Tip:
Take regular breaks during long sessions—your ears are always your most valuable tool.
Trust your instincts but also get feedback from others whose opinion you trust. Fresh ears can catch things you might have missed.
When in doubt, less is more. Subtle adjustments often have the most impact in mastering.
For a list of the 5 most common mastering mistakes, check this post out.

When Should You Consider Professional Mastering?
While DIY mastering can be effective for demos or independent releases on a budget, there are times when hiring a professional is worth the investment:
If you’re releasing an album or single commercially and want it to compete with industry standards.
If you’re struggling with translation issues (e.g., your mix sounds great in headphones but not on other systems).
If you’ve reached the limits of what you can achieve with your current setup or skillset, or you’re simply too familiar with the mix for your objectivity to remain intact.
Professional mastering engineers bring years of experience and specialized equipment that can take your music to the next level. But until then (or when budgets are tight) DIY mastering can be an excellent way to learn and grow as a producer / mixer.
The Bottom Line
Mastering on a budget doesn’t mean settling for less, it means making smart choices with the tools and resources you have. By focusing on subtlety, understanding loudness standards, and trusting your ears, you can create masters that sound polished and professional without breaking the bank.
Keep in mind that mastering isn’t about perfection or reinventing your song; it’s about presenting your approved mix in its best possible light. With practice and patience, anyone can achieve results they’re proud of… and isn’t that what this journey is all about?